Download
- Tool
- Version History
- Installation Instructions
OWL-LingS-MX 1.0: the current official release of the academic version.
This version history documents the developments in OWL-LingS-MX since the first beta release of OWL-LingS-MX in December 8, 2012.
8 December 2012: First official Beta Version.
3 march 2014: Second Beta Version.
• Updating of OWL-LingS-MX interface.
• Adding other nonfunctional linguistic properties.
• Bug fixes;
• Etc.
To download the current version of OWL-LingS-MX:
1. Download the zip-file containing the source code files from here.
2. Unzip the downloaded zip-file. This creates the following directories: OWL-LingS-MX, Services, and DomainOntology. The OWL-LingS-MX directory contains the installation files of OWL-LingS-MX core.
The directory DomainOntology contains a demo file of our domain ontology.
Some examples of services are available in the Services directory.
3. Make sure that you have the Java version 6 (e.g., J2SE Java Runtime Environment) or later version installed and properly configured on your system. The OWL-LingS-MX will not run without Java installed. Java for Windows can be downloaded from java.sun.com
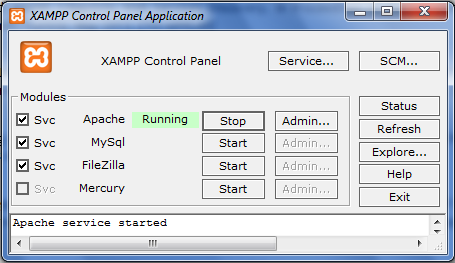
4. Moreover, make sure that you have the XAMPP tool which is an Apache distribution containing MySQL, PHP, and Perl. Just download it from apachefriends.org and start the installer. It's that easy.
5. Create a folder named ontology under the X:\XAMPP\htdocs.
6. Copy and paste the domain ontology (.OWL) in the X:\XAMPP\htdocs\ontology folder.
7. Create a folder named services under the X:\XAMPP\htdocs in order to save the generated descriptions. Besides, paste the services (.owl-lings) in the X:\XAMPP\htdocs\services folder.
8. Create a folder named requests under the X:\XAMPP\htdocs in order to save the generated requests.
9. In Eclipse, select the “SplashScreen” class. Then, go to the "Run As" menu and click on "Java Application".
10. A small interface will appear presenting the logo of our matchmaker as it is shown in the figure below.
11. Later, we click on the OK button to start the main interface of our matchmaker.

7. Make sure that the Apache server is started.
Please e-mail nabil.baklouti@redcad.org if you have problems to install and configure the OWL-LingS-MX, if you find bugs or if you have suggestions to improve our matchmaker.
 Top of Page